

How to Migrate Your Blog to Shopify Without Losing Traffic
You can migrate a blog to Shopify by exporting your posts, importing them with a CSV file or an app, then redirecting every old URL to its new address. Small blogs can be copied by hand. Larger ones need a tool and a redirect list. Customers move in a separate step, and in Singapore that step needs care with consent and the PDPA.
This guide is for brand owners moving from WordPress, WooCommerce or another platform. It covers the methods, the order of work, the checks after launch and when it is cheaper to hand the job to someone else.
Key Takeaways
- Decide which posts deserve to move. Shopify itself notes that a migration is a good time to remove old, low-performing content.
- Pick the method by blog size: copy and paste, CSV import, a migration app, a Shopify Partner or a custom API job.
- Redirect every old blog URL to its new Shopify address and test the redirects in a browser after launch.
- Import customers with a CSV, and set each marketing-consent column from the history on your old platform.
- Singapore brands should check PDPA rules on overseas data transfer and the Do Not Call registry before marketing to imported contacts.
Table of Contents
- What should you decide before moving a single post?
- Which method should you use to migrate a blog to Shopify?
- What should you check after the posts are in?
- How do you keep your blog traffic with redirects?
- How do you migrate customers to Shopify?
- How do you test the migration before you go live?
- What does a blog migration cost in Singapore?
- Our view: what we have seen go wrong with blog moves
- Can Soodo move your blog, products and customers for you?
- FAQ
- Sources
What should you decide before moving a single post?
Start with a content list, not a tool. Export or crawl your current blog and note the URL, title, publish date, author, tags, category and monthly traffic for each post.
Then sort the list into three piles:
- Keep as is. Posts that bring traffic, links or sales.
- Keep and update. Posts with good topics but old prices, screenshots or advice.
- Retire. Thin, duplicate or outdated posts.
Shopify’s migration guidance says a move is a chance to remove old, low-performing content and advises keeping your store assets accessible until the move is done. Take that seriously. Moving 400 weak posts costs time and gives search engines 400 weak pages to judge you by.
Also decide what happens to your URL structure. Shopify blog posts live under a blog handle, usually /blogs/news/post-name. If your old posts sat at /post-name/ or /2021/05/post-name/, every address will change. That is fine, as long as each old address points to the new one. We cover that below.
Which method should you use to migrate a blog to Shopify?
Shopify lists several routes for moving content: copy and paste, CSV import, a migration app, a Shopify Partner, or a custom solution built on the Shopify API (Shopify Help Center). The right one depends on volume and how messy your content is.
| Method | Best for | Main risk |
|---|---|---|
| Copy and paste | Fewer than about 30 posts | Slow, easy to miss images and links |
| CSV import | Mid-sized blogs with clean data | Formatting and image links need checking |
| Migration app | Hundreds of posts, tags and images | App settings and field mapping |
| Shopify Partner | Blog plus products, customers and redirects | Cost, but fewer surprises |
| Custom API job | Unusual content types or very large archives | Needs a developer |
The 30-post line is our rule of thumb, not a Shopify figure. Past that point, copying by hand costs more in staff time than a tool costs in fees.
How does a CSV or app import work?
A bulk tool such as Matrixify imports blog posts from a spreadsheet. Each post must be linked to a blog. Commands such as NEW or MERGE tell the tool whether to create a post or update an existing one. That matters when you run the import twice, which you will, because the first run is a test.
Images need one specific check. The same documentation says image links must be publicly available at the time of import, so Shopify can download and host the files. If your old site is behind a password or a staging lock, images will fail quietly.
What about content format?
Post content can be plain text or HTML. Matrixify suggests creating one sample post in Shopify, exporting it, and looking at how Shopify writes the formatting as HTML. Copy that pattern into your spreadsheet. It is the fastest way to stop headings, lists and embedded media from breaking.
If your source posts are in Markdown or plain text, convert them to HTML first.
What should you check after the posts are in?
Open a sample of imported posts, not just one. Pick the longest, the one with most images, one with a table and one with a video embed. Check these things:
- Headings are real headings, not bold text.
- Images display, with sensible alt text.
- Tags and categories match your plan.
- Internal links point to the new Shopify addresses, not the old site.
- Author names and publish dates are right.
Image file names deserve a note. Shopify’s own site structure guidance says file names should be descriptive before upload because you cannot change them inside Shopify. Rename files in bulk before importing, not after.
The same guidance recommends descriptive link text over phrases like “click here” for internal links in blog posts and product or collection descriptions. A migration is a good moment to fix old links that say nothing.
How do you keep your blog traffic with redirects?
Redirects are the part that decides whether you keep your rankings. Every old blog URL that has traffic or backlinks needs a 301 redirect to the matching Shopify URL.
Shopify lets you set up redirects in the admin or import them in bulk with a CSV, and advises verifying important ones in a browser after launch. Follow this order:
- Export your old URL list from your analytics, sitemap or a crawl.
- Map each old URL to its new Shopify URL in two columns.
- Import the file under Navigation, URL redirects.
- Test your top 20 posts by typing the old address into a browser.
- Test again a week after launch, then monitor search reports for crawl errors.
If you edit a post’s search listing later and change its handle, Shopify offers a pre-selected option to create a redirect from the old address to the new one. Leave it ticked.
Building the map is tedious by hand. Our free redirect map generator produces a CSV in the format Shopify expects, and our guide to Shopify 301 redirects explains what to do when an import fails.
How do you migrate customers to Shopify?
Blog posts are the easy half. Customer records carry legal weight.
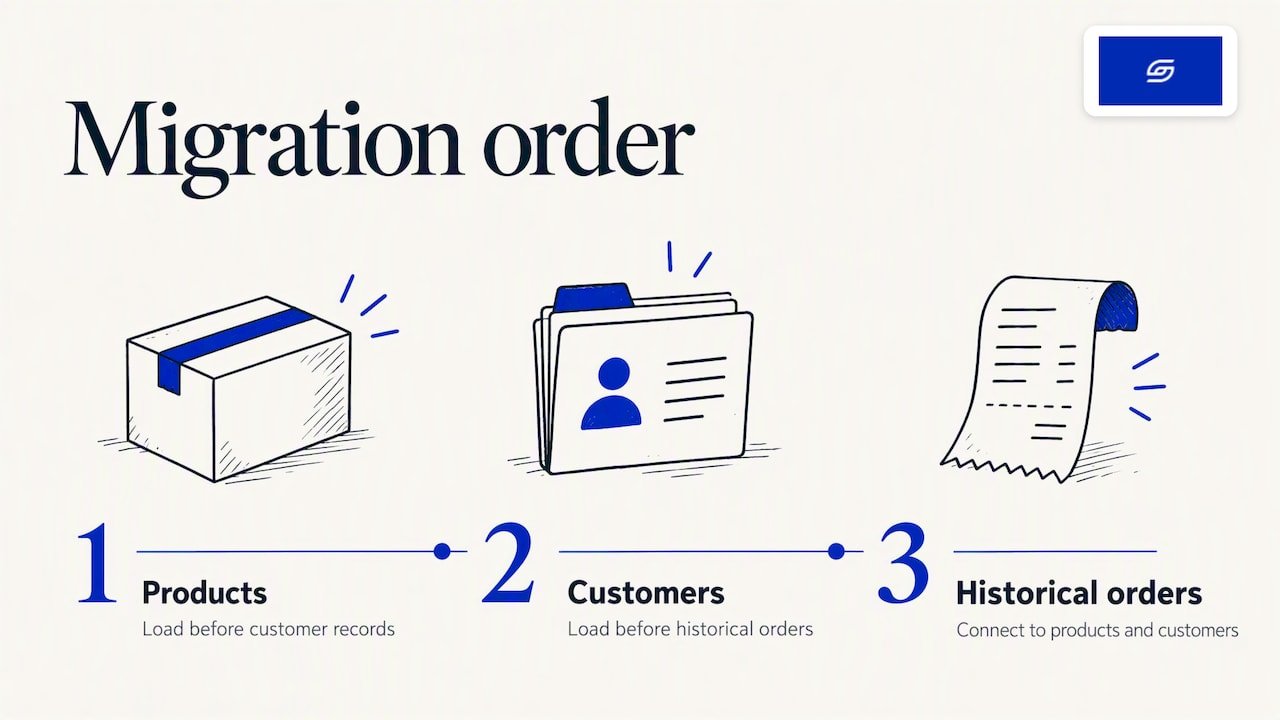
Shopify says customer records can move through a customer CSV file, a migration app or the Customer API. The recommended order is products first, then customers, then historical orders. That way orders can be connected to the right products and customers.
What does the customer CSV include and leave out?
The customer CSV supports names, contact details, tags and marketing consent status. It cannot import customer passwords or engagement history such as past opens and clicks. Tell your customers they will need to set a new password or use a sign-in link. A short email before launch avoids a flood of support messages.
For engagement history, record it with tags. A tag such as “opened-last-90-days” lets you segment after import even though the raw data does not transfer.
How should you handle marketing consent?
Set each consent column (email, SMS, WhatsApp) to yes or no, based on that channel’s real history on your old platform. Do not mark everyone as yes to make the list look bigger. Shopify warns that importing contacts as subscribers after they opted out or stopped receiving messages can cause spam complaints and bounces.
What does the PDPA add for Singapore brands?
Two points matter most.
First, if your new platform or apps store personal data outside Singapore, the transfer must give the data a standard of protection comparable to the PDPA. The PDPC’s advisory guidelines describe contractual obligations and binding corporate rules as common ways to achieve this. Check the data processing terms of every app that will touch your customer list.
Second, before you send marketing calls or texts to Singapore numbers, verify their status against the Do Not Call registry. Your old consent records are the evidence, so keep a copy of them outside both platforms.
For the cookie and consent banner on the new store, see our guide to mapping your consent UI to the Customer Privacy API and PDPA. If you are not sure your records are clean enough to import, ask a data protection professional or your company’s legal adviser before you upload.
How do you test the migration before you go live?
Testing is not only for the blog. Shopify advises running test orders that cover successful and failed payments, refunds, cancellations, fulfilments and archiving (Shopify Help Center).
A simple pre-launch list:
- Ten sample blog posts checked on mobile and desktop.
- Redirect file imported and the top 20 old URLs tested.
- Three test customers imported with different consent settings, then checked in the admin.
- Test orders placed with your payment gateway and your shipping rates for Singapore and your other markets.
- Old site kept online and accessible until the new one is confirmed.
If you are moving a full WooCommerce shop and not only the blog, read our WooCommerce to Shopify migration guide for Singapore. It covers products, orders and payment set-up alongside content.
What does a blog migration cost in Singapore?
A blog alone is often small work. A full store move is a bigger project, and the blog is one part of it. At Soodo, Migration to Shopify starts from SGD 6,000. Your timeline and start date are agreed before we begin. That covers the move of your store, with content and customers planned into the same project. If you already have a Shopify store and want it improved, Shopify Revamp starts from SGD 3,000. Your timeline and start date are agreed before we begin. A new Shopify store starts from SGD 8,500. Your timeline and start date are agreed before we begin.
The final quote depends on how many products, posts and customers you have and how clean your data is. Every project includes handover training and 6 months of post-launch fixes.
Our view: what we have seen go wrong with blog moves
We are a small team on purpose. Jessica Bong, the founder of Soodo, leads strategy, and a dedicated developer builds. Jessica has 10+ years in ecommerce and is a WSQ Shopify trainer at Equinet Academy. Soodo is a Shopify Partner with 30+ live stores.
Here is what we tell brand owners.
A blog should earn its place on a store. We take a sales-first approach. Before moving a post, we ask which product or collection it helps someone buy. A post that answers a pre-purchase question and links to the right product is worth moving and improving. A post written only for traffic often is not.
Do the redirect map before the import. Most traffic loss we hear about comes from skipped redirects, not from the import itself. Build the map first, and the import becomes a mechanical job.
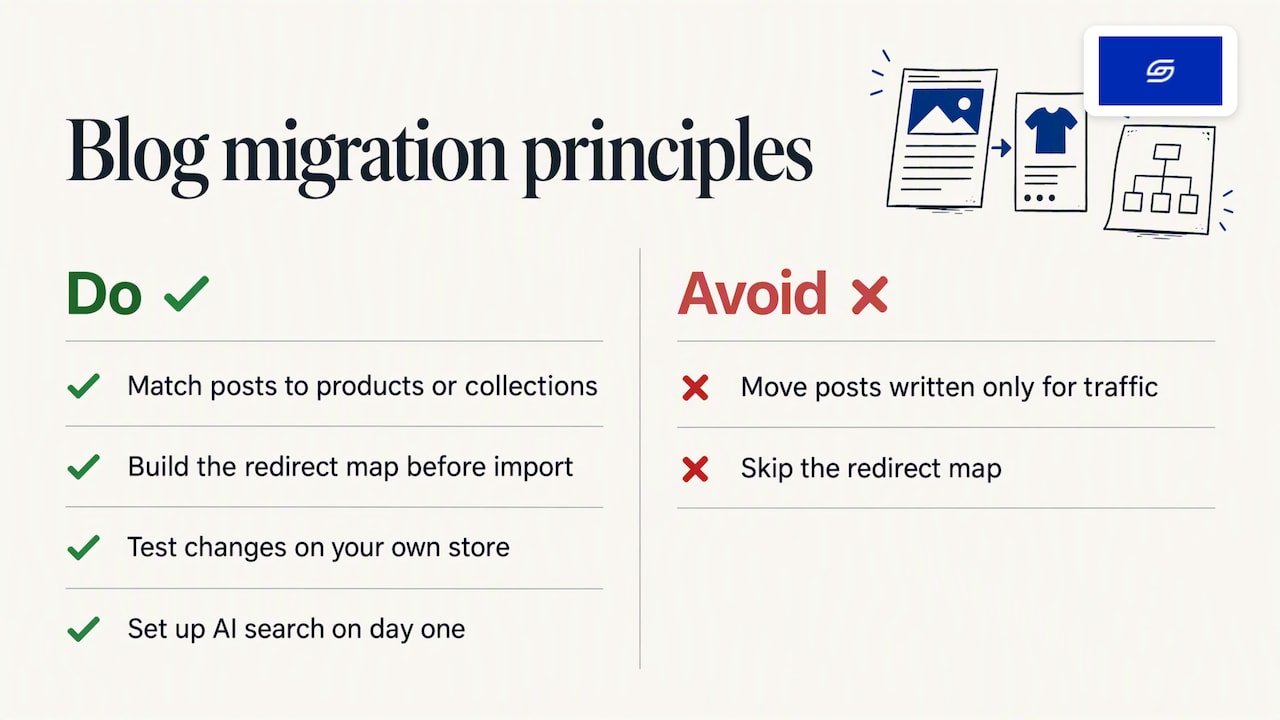
Test on our own store first. Patch&Bagel is our own ecommerce brand, and we try changes there before we recommend them to clients.
Set up for AI search from day one. Every store we build is set up for AI search, also called GEO. Clear headings, descriptive links and clean structured content help on a blog too. You can read what that means in our explainer on GEO. We do not run a monthly GEO or SEO service. For long-term GEO growth, we work with specialist partners.
— Soodo
Can Soodo move your blog, products and customers for you?
Yes. If you would rather not map fields and redirects yourself, our Migration to Shopify service covers the whole move: content, customers, redirects, testing and launch. You get a fixed quote, handover training so your team can manage the store, and 6 months of post-launch fixes.
After the 6-month fixes period, new changes are quoted separately, subject to availability. If you are still weighing up whether to fix, rebuild or move, our comparison of revamp, rebuild and migration will help you choose.
FAQ
Can I import blog posts into Shopify for free?
Yes, for small blogs. You can copy posts into Shopify’s editor by hand, which costs nothing but time. Bulk import tools usually charge a fee, so check the current price on the tool’s own page before you commit.
Will my images come across with my blog posts?
They can, if the image links are publicly reachable when you import. Shopify then downloads and hosts the files. Check a sample of posts afterwards, because broken or blocked links fail without an obvious error.
Can I import customers into Shopify with their passwords?
No. Shopify’s customer CSV cannot import passwords or engagement history such as past opens or clicks. Customers set a new password after the move. Use tags to keep a record of engagement for later segmentation.
Do I need to redirect every old blog URL?
Redirect every URL that has traffic, backlinks or sales value. Low-value posts you have retired can be redirected to a related post or the blog home page. Test the important ones in a browser after launch.
Do Singapore brands need to think about the PDPA when moving customer data?
Yes. Overseas transfers of personal data must receive comparable protection, and Do Not Call status should be checked before marketing calls or texts. Keep your consent records, and ask a data protection professional if your situation is unclear.
Sources
- Shopify Help Center: Migrate to Shopify
- Shopify Help Center: Importing and exporting customer lists
- Shopify Help Center: Optimizing your site structure for SEO
- Shopify Help Center: Adding and managing blog posts
- Matrixify: Blog Posts documentation
- PDPC: Advisory Guidelines (January 2024)
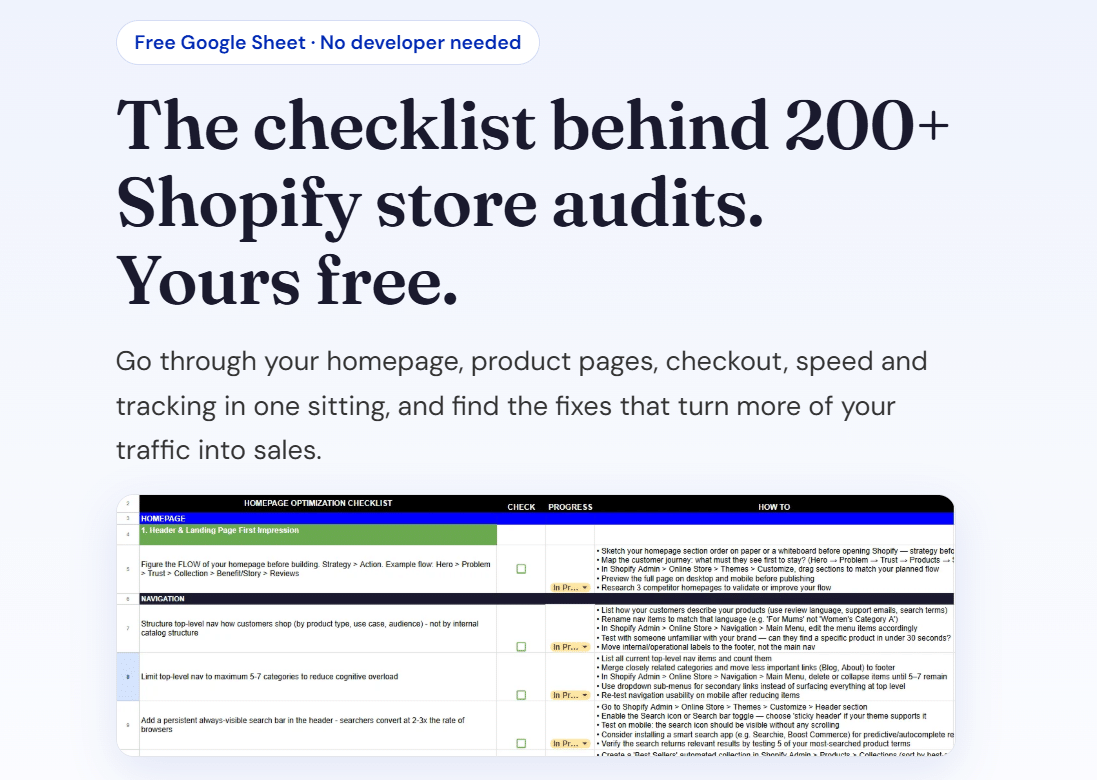
Ready to plan your move? Download the free Shopify optimisation checklist or apply for a project slot.
Recommended

Jessica Bong
Jessica Bong is the founder of Soodo, a Singapore Shopify agency that builds, revamps and migrates Shopify stores, with every store set up to be found in AI search (GEO). She has spent over 10 years in ecommerce and runs her own Shopify brand, Patch&Bagel, where every Soodo technique is tested first. Jessica is also a WSQ-certified Shopify trainer at Equinet Academy.